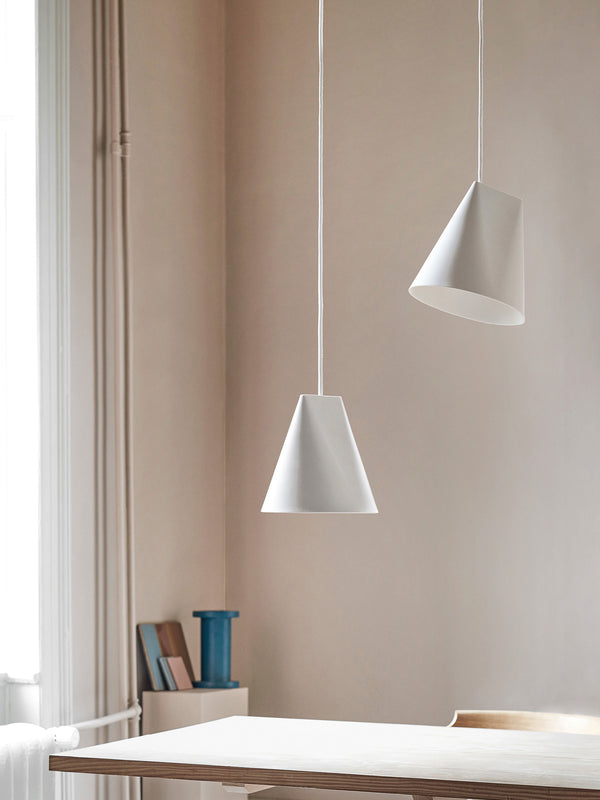
Ceramic Pendant sits freely on the cord, allowing you to rotate the shade in any direction to suit your space.
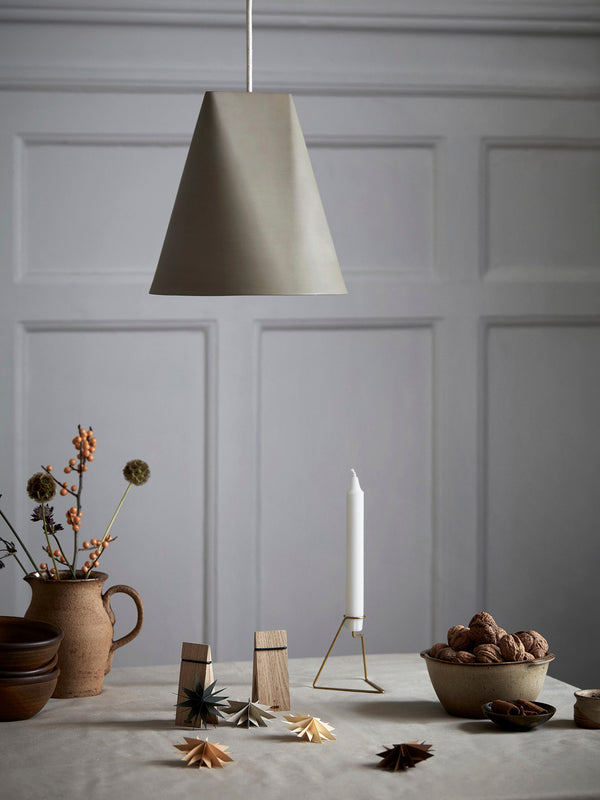
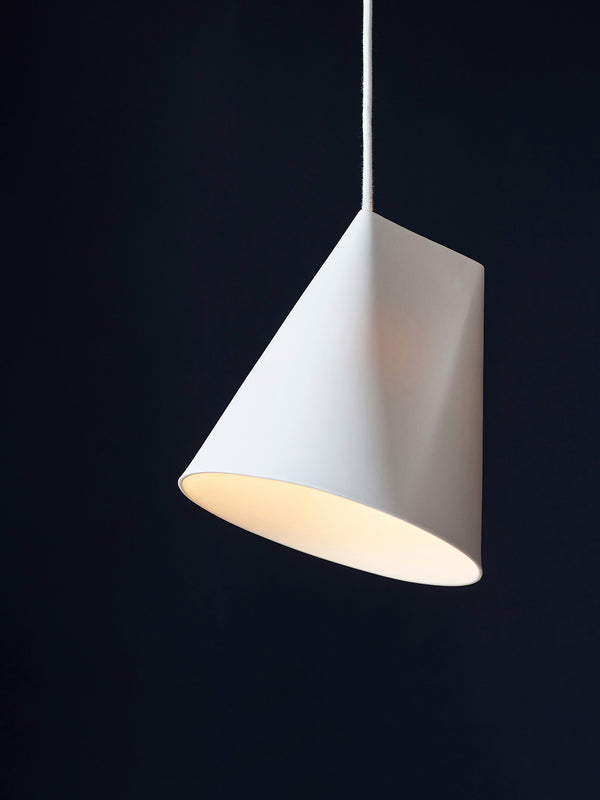
After being burnt at over 1100 degrees, the pendant is left unglazed to create a final surface that is matt and fine-textured.
Each lamp varies slightly in shape, size, an colour, making each one truly unique.
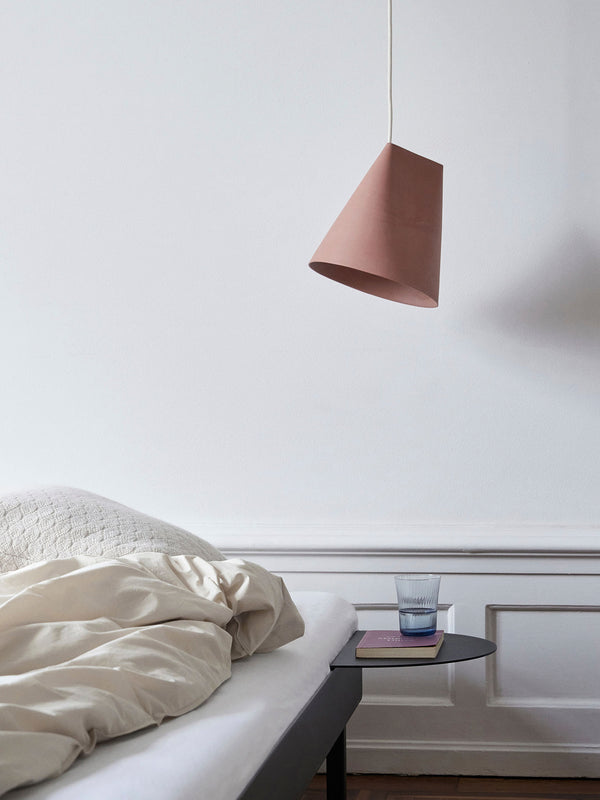
The unique shape of the shade starts with a thin line at the top, and finishes with a circle, creating different expressions from different viewing angles.

Available in both Wide and Narrow versions which work well together, or by themselves.