Flower Pressing Guide
Need inspiration?
Click here
Flower pressing has a deep history, and most likely originated in Japan where the art form is known as oshibana.
Its popularity grew in the west as trade with Japan increased, and by the late 1800s flower pressing was a favourite pastime in England and the United States.
And the best thing?
It's simple and satisfying to do at home.
Step 1
Choosing your flowers
It is important to pick flowers that are suitable for pressing. Flowers with a low water content will both dry faster and look nicer pressed, as they are often thinner.

Step 2
What to press them in
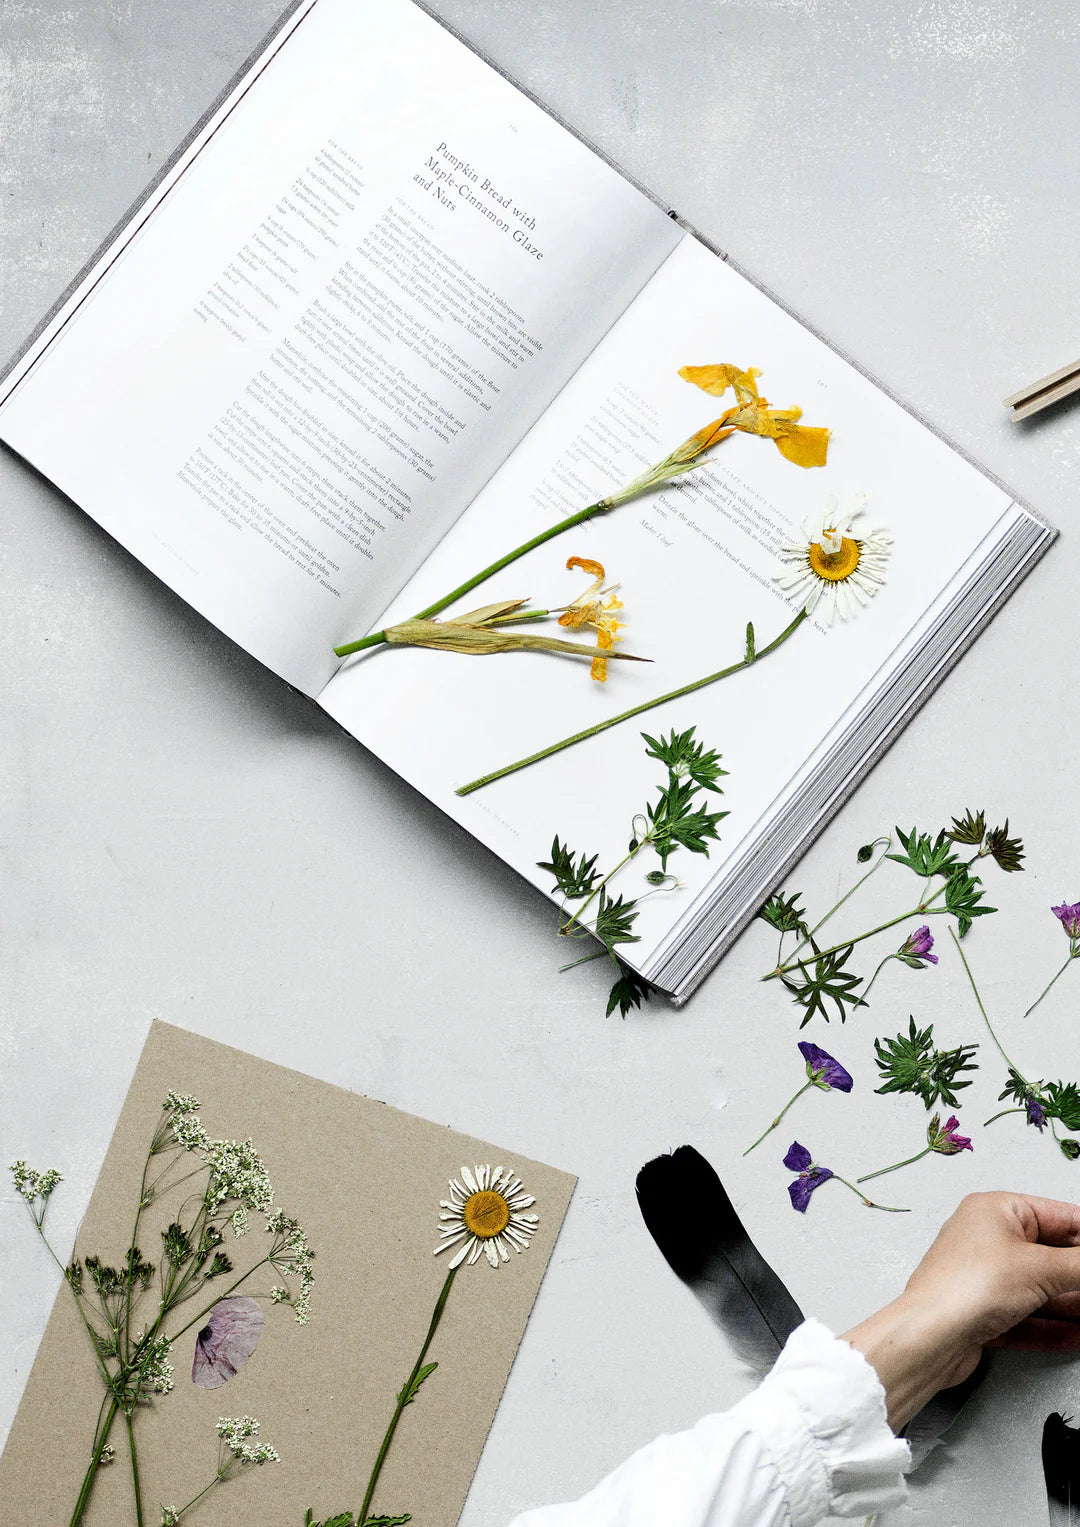
As you are pressing all the water out of the flowers, be sure to choose something that can absorb the water, such as a book, newspaper or a piece of cotton placed both above and beneath the flowers.

Step 3
Find something heavy
Find something heavy to place on top. Be sure whatever the item that it distributes the weight evenly over the surface it is pressing against, to help ensure your pressings come out evenly flat.

Step 4
Have patience
Leave the flowers undisturbed for around 14 days. Once finished all that is left is to take your frame and start arranging.


